Time for my next project: Golf war desert camouflage. My first thought was to find a suitable Tornado kit but I was reluctant to get another Revell kit, since I did not enjoy building the last two ones (see here and here). Then I happened to find a rare kit of the Jaguar by Kitty Hawk (rare, because Kitty Hawk has shut down operations since last year). It even included a desert scheme so I would not need to find extra decals. Sold! Little did I know that this kit is even worse than my last Revell ones!
In theory, it is a good model. It includes nice panel lines, PE parts (cockpit instrument panels and seatbelts), antennas, wing spoilers etc), detailed electronics bay and cannon bays, even the two engines.
In practice, it has a lot of fit issues! I had to use A LOT OF putty to fill the numerus gaps, as you can see in the photos below. Furthermore, the wing to fuselage joints on the top of the wings intersect with the panel lines, making the most visible area of the model look bad! The same is true for the vertical fin. I had to apply putty and sand it 3 times until I could make all the joints disappear. After that I had to re-scribe a lot of panel lines and rivets.
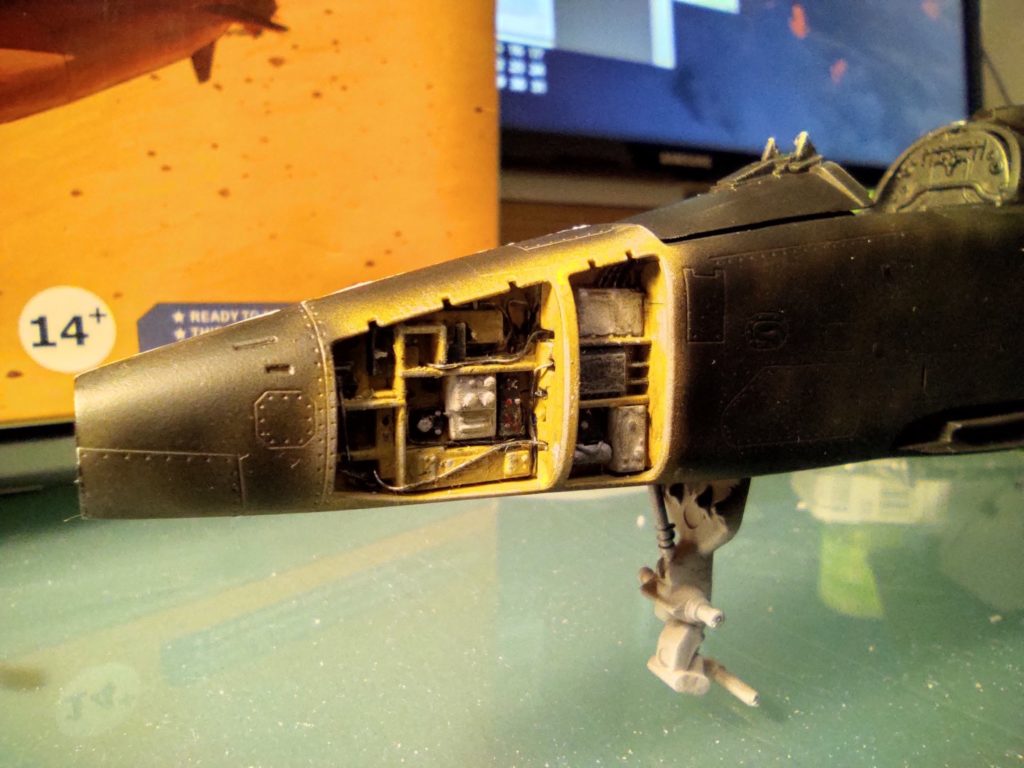
Another point that I did not like was (surprise!) the lack of any ducting inside the engine intakes. Sure, looking at the intakes you can see the engine compressor fans at the back, but you can also see the entire internal structure of the fuselage (gun bays, landing gear, airbrakes)! Not good. Thankfully, the shape of the intakes is pretty simple and I was able to design and 3D-print FOD covers. The only other addition I did, was enhance the electronic bay a bit: I used solder wire (0.2 and 0.3mm) to represent some wiring and thin plasticard to re-create the structure on the inside of the bay doors.
After a bit of research and some photos I found online, I added an electronics pod under the left wing. I used a leftover part from the Zukei-Mura F-4E, slightly modified to represent the pod that the Jaguars used.
The last sore point of the kit were the decals that suffer from a slight color misalignment. This is most prominent on the roundels. However I used them as is. At this point I lacked the patience to search for alternatives.
As for the weathering, besides the “mandatory” panel lining, I applied some pastel dusts with a soft brush.
The work in progress


The finished model


Products Used
| Kit | Box | Scale | Code |
|---|---|---|---|
| Kitty Hawk Sepecat Jaguar GR.1 |  | 1/48 | KH80106 |
| Eduard Jaguar GR.1/ GR.3 Masks |  | 1/48 | EX401 |
| Master Model SEPECAT Jaguar GR1/GR3 Pitot Tube & AoA |  | 1/48 | AM-48-057 |

You must be logged in to post a comment.